Hi all,
I was asked about how I made these cards using Anna Griffin’s Christmas Kitsch cartridge and my Cricut. First, I have an expression so I use CCR. On the bottom of CCR , there is a default setting of 2.5 for bringing all images to the mat. I changed that to 5.5. Then when I bring my images to the mat- they all will fit appropriately. I first cut out the card base and then cut all the corresponding layers. Next you assemble the layers. After they are assembled and decorated, I attach the completed layer to the card base. I haven’t added a sentiment to the inside of the cards yet. So that will be my next step.
I hope this helps and feel free to ask me any questions.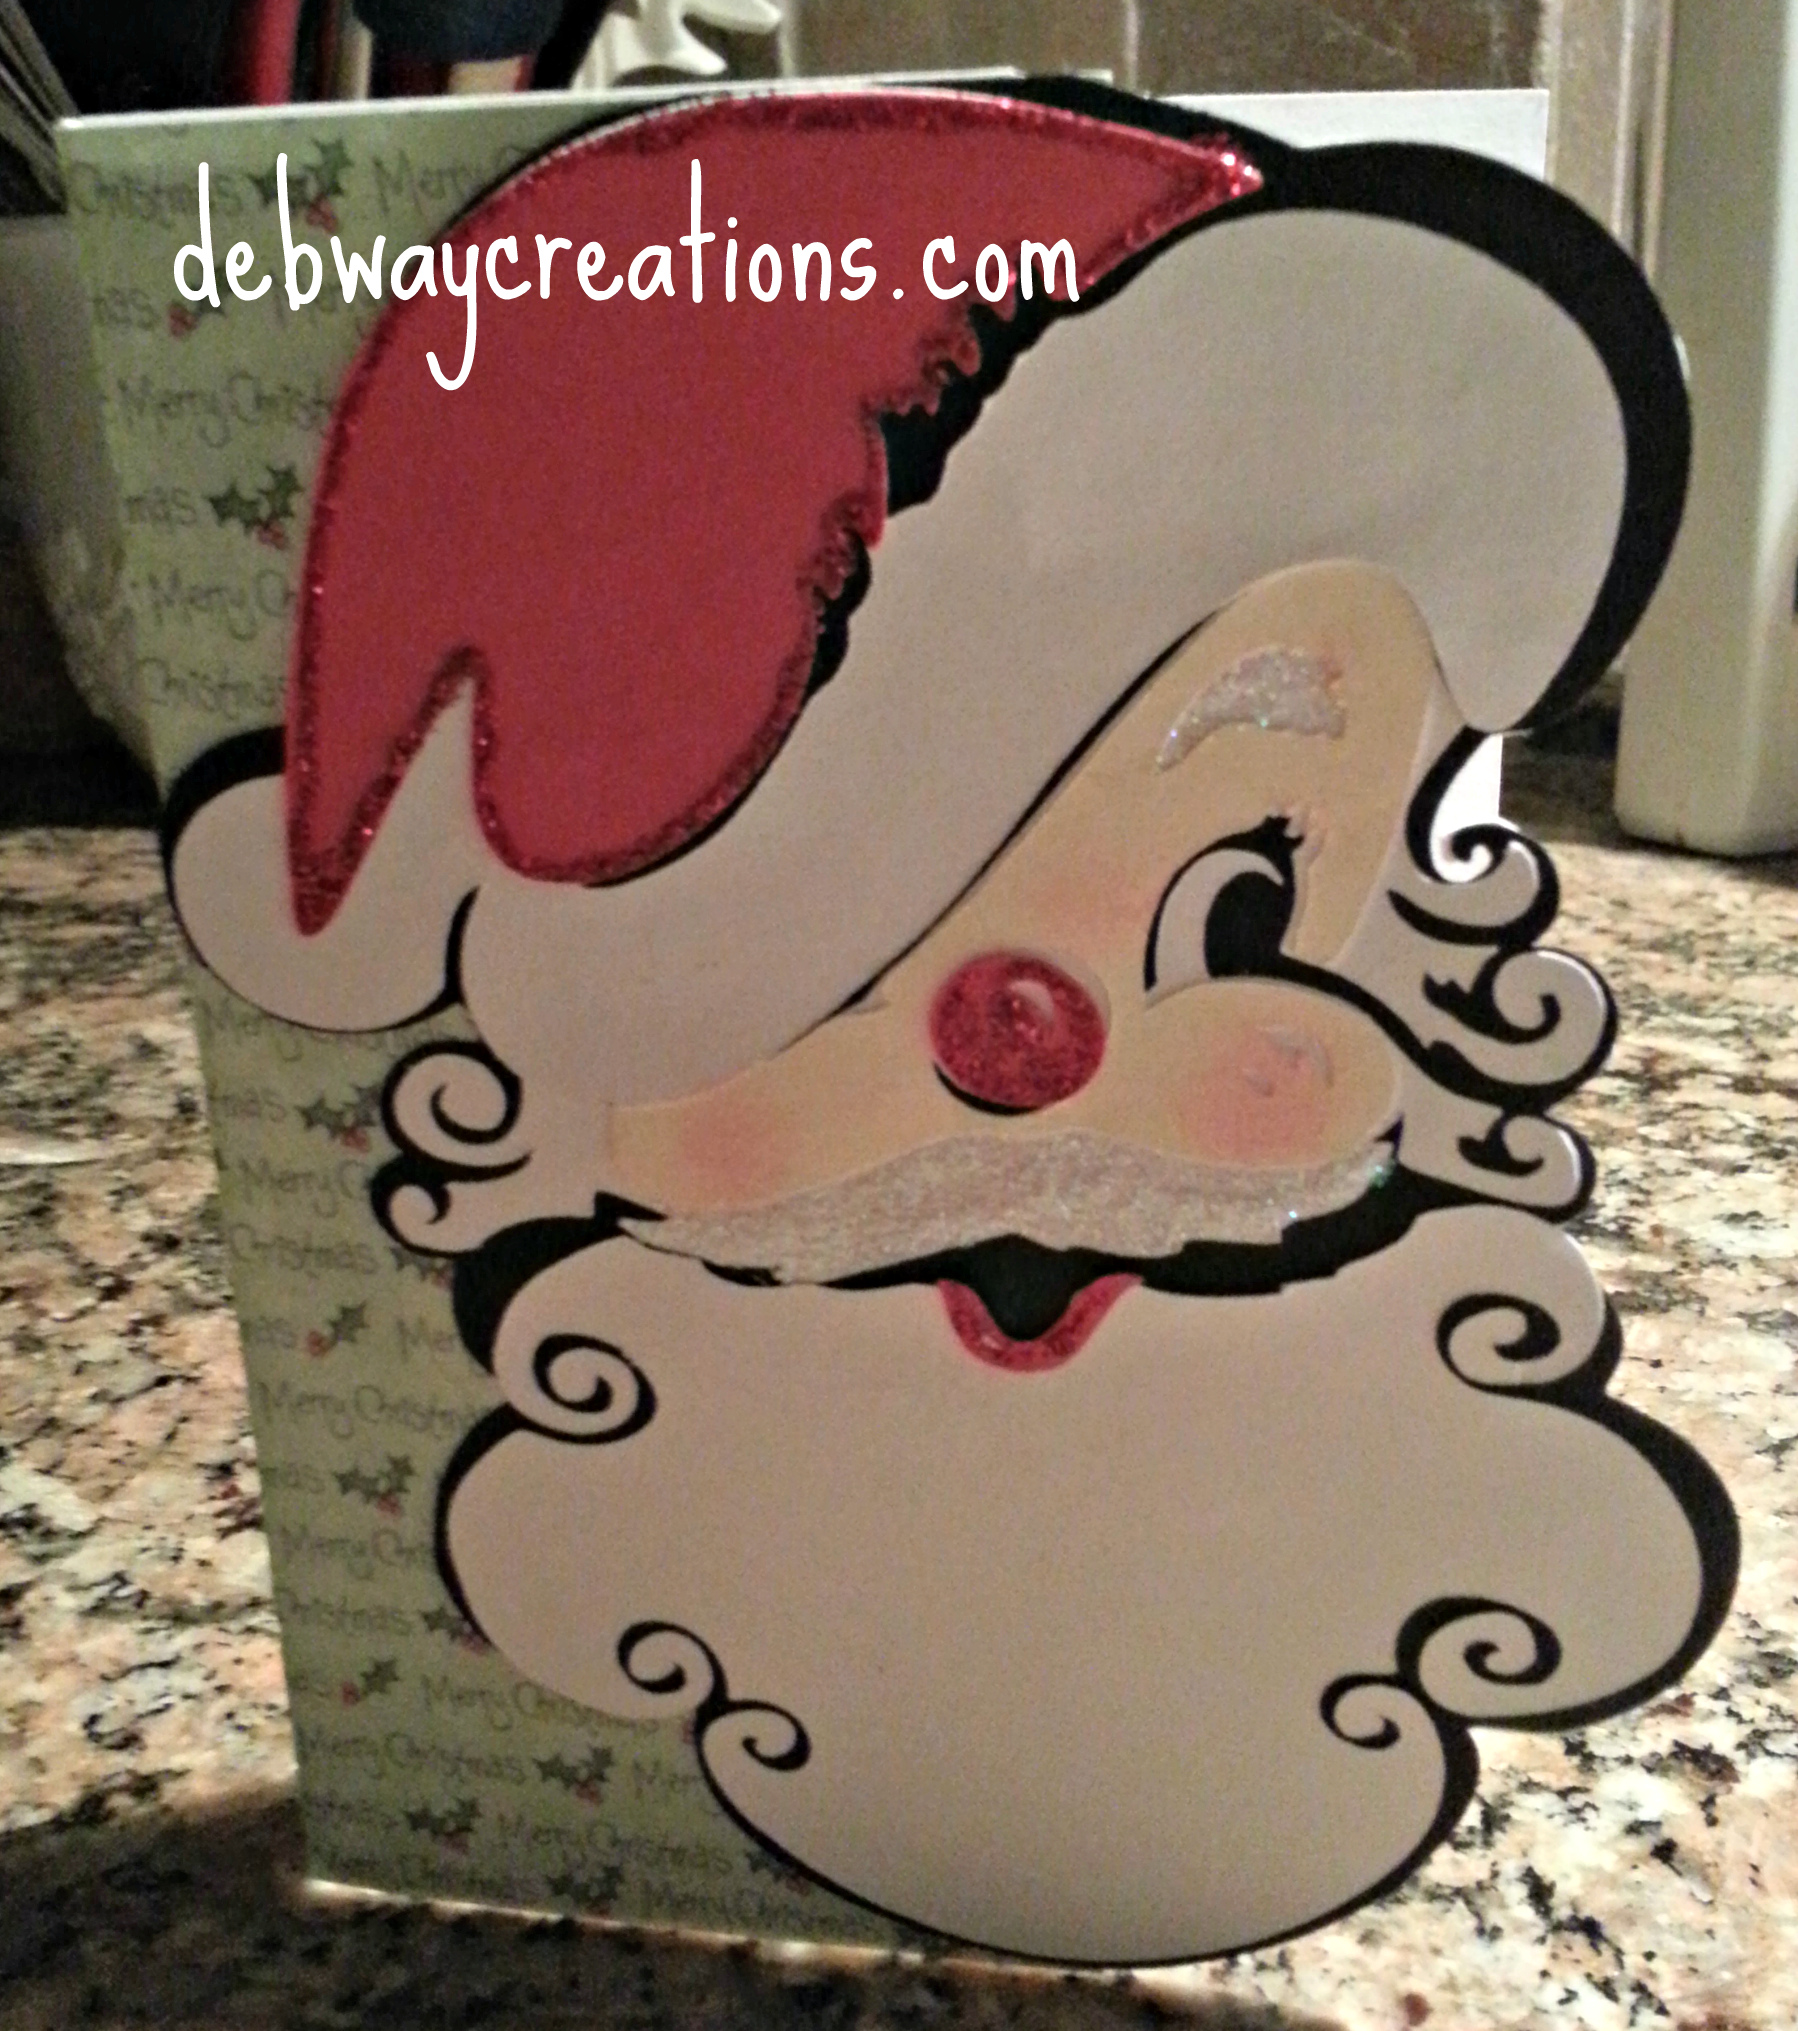


Your cards are so AWESOME! I am a newbie with the Explore and I can’t figure out how to size the Santa for an A2 card. I have watched so many videos that I truly believe I’m going crazy! I can get the image on the mat but the image is real small.
In Design Studio software is there a place to change the default setting to 5.5 so all your images come onto the mat in the right proportions? Once you change it all the layers should match up.
Thanks Deb! I’ll try it!
Oops! I didn’t answer your question! I found where to set the design size but I’m confused because the photo is very little. I was trying to recreate the same card you did! I love Anna Griffin! That is how I got my Explore…………….darn HSN! 🙂
kraftychic@stx.rr.com
OK I opened DS and clicked on the santa card. Both the card and envelope appeared on the mat. I ungrouped to move the envelope and then highlighted and regrouped the santa card. I then opened the edit window and highlighted the entire card and changed the height to 5.5 in the window. Once I pressed enter the card sized appropriately. Then you just have to separate the layers to cut out in the colors and papers you want. Hope this helps.
Deb